
Guides
Checkout process: anatomy of a high-converting page
Build a clearer checkout process with page examples, essential fields, trust signals, order bumps, hosted checkout options, and a practical setup guide.
Checkout process: anatomy of a high-converting page
The checkout process takes a buyer from choosing an offer to confirming payment and receiving their purchase. A useful checkout page makes the product, total, payment terms, and next step clear. This guide covers page anatomy, example offers, hosted checkout tools, and how to test the complete purchase journey.
By Seph Fontane Pennock. Published and updated 8 October 2026.
What is the checkout process?
The checkout process is the sequence in which a customer reviews an order, enters necessary details, chooses a payment method, authorizes payment, and receives confirmation. For a digital product, it should also explain how access will arrive. The checkout page is the interface where most of these decisions happen.
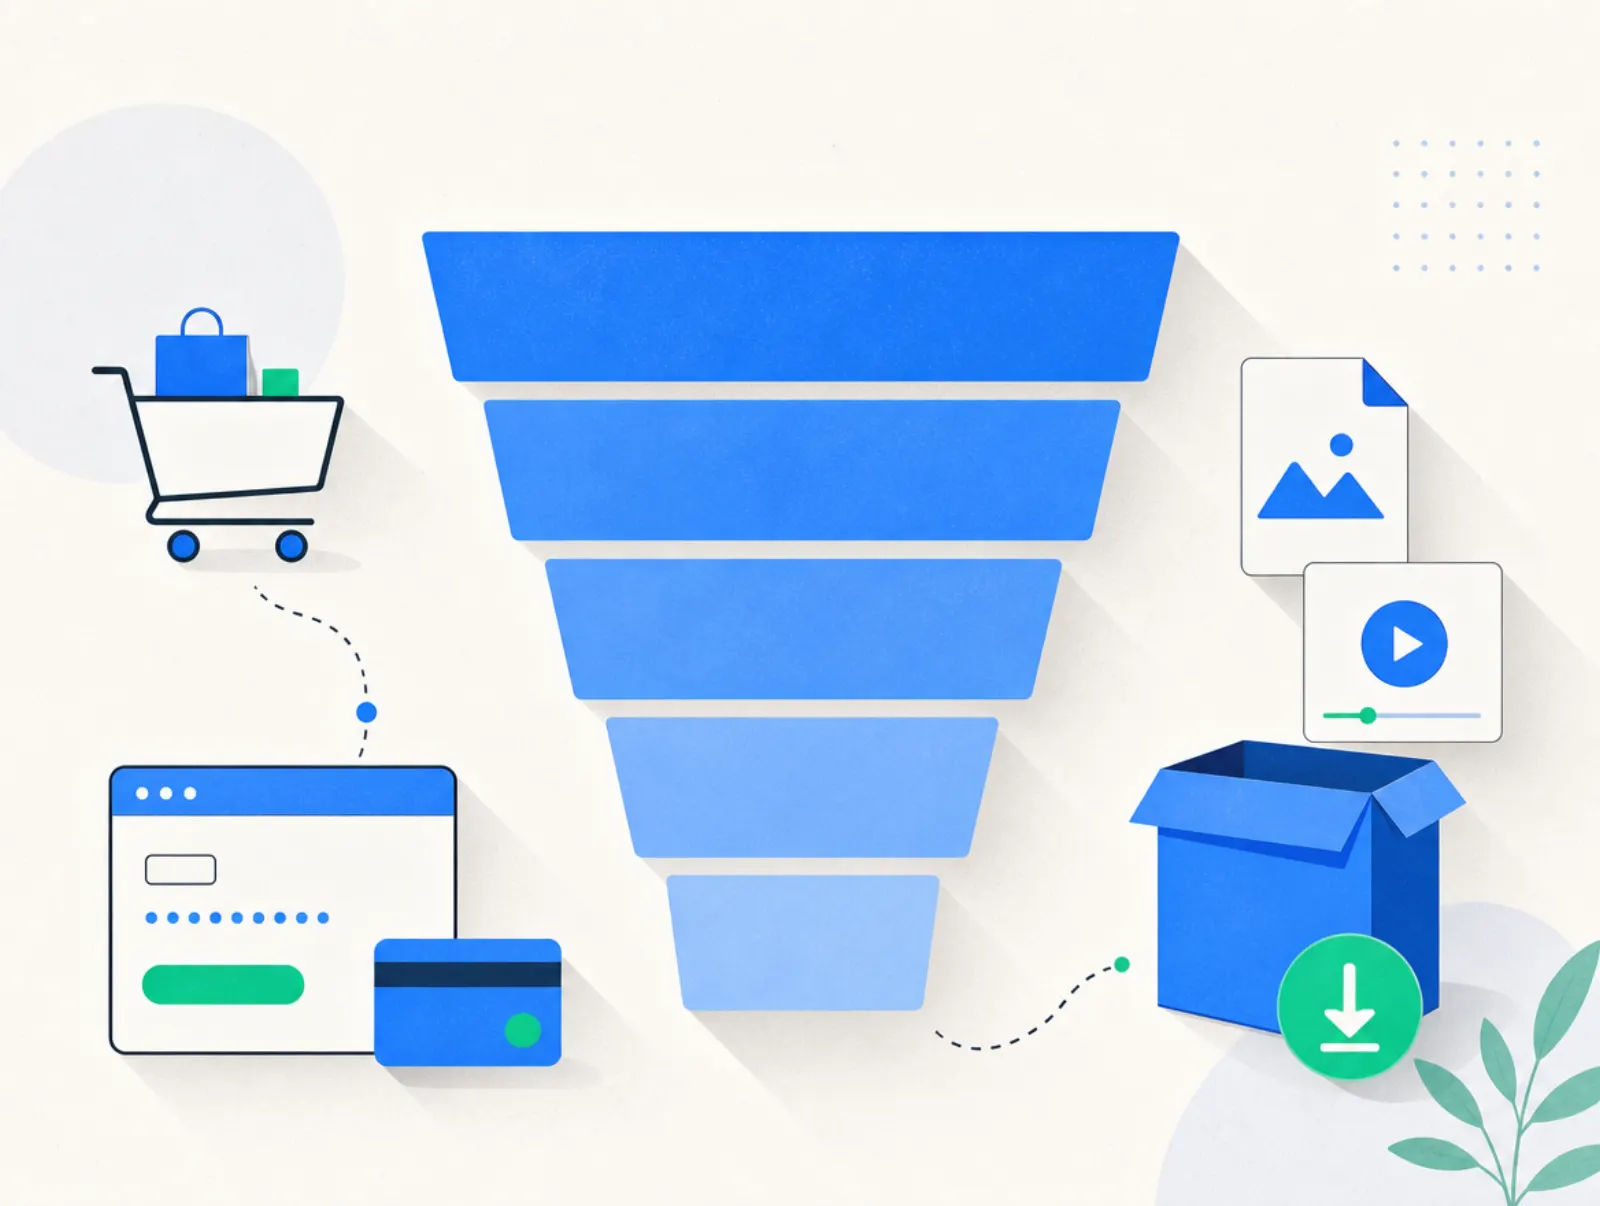
A checkout link is the URL that takes someone there. The checkout flow describes the screens and interactions they encounter. The checkout funnel describes the same journey as measurable stages, so you can see where people leave before purchasing.
Payment and delivery are separate responsibilities. A processor such as Stripe handles payment; your product system must recognize the successful transaction and grant access. Stripe's Checkout documentation, checked 8 October 2026, describes hosted and embedded implementations. Those options belong to Stripe's own product, not automatically to every tool connected to it.
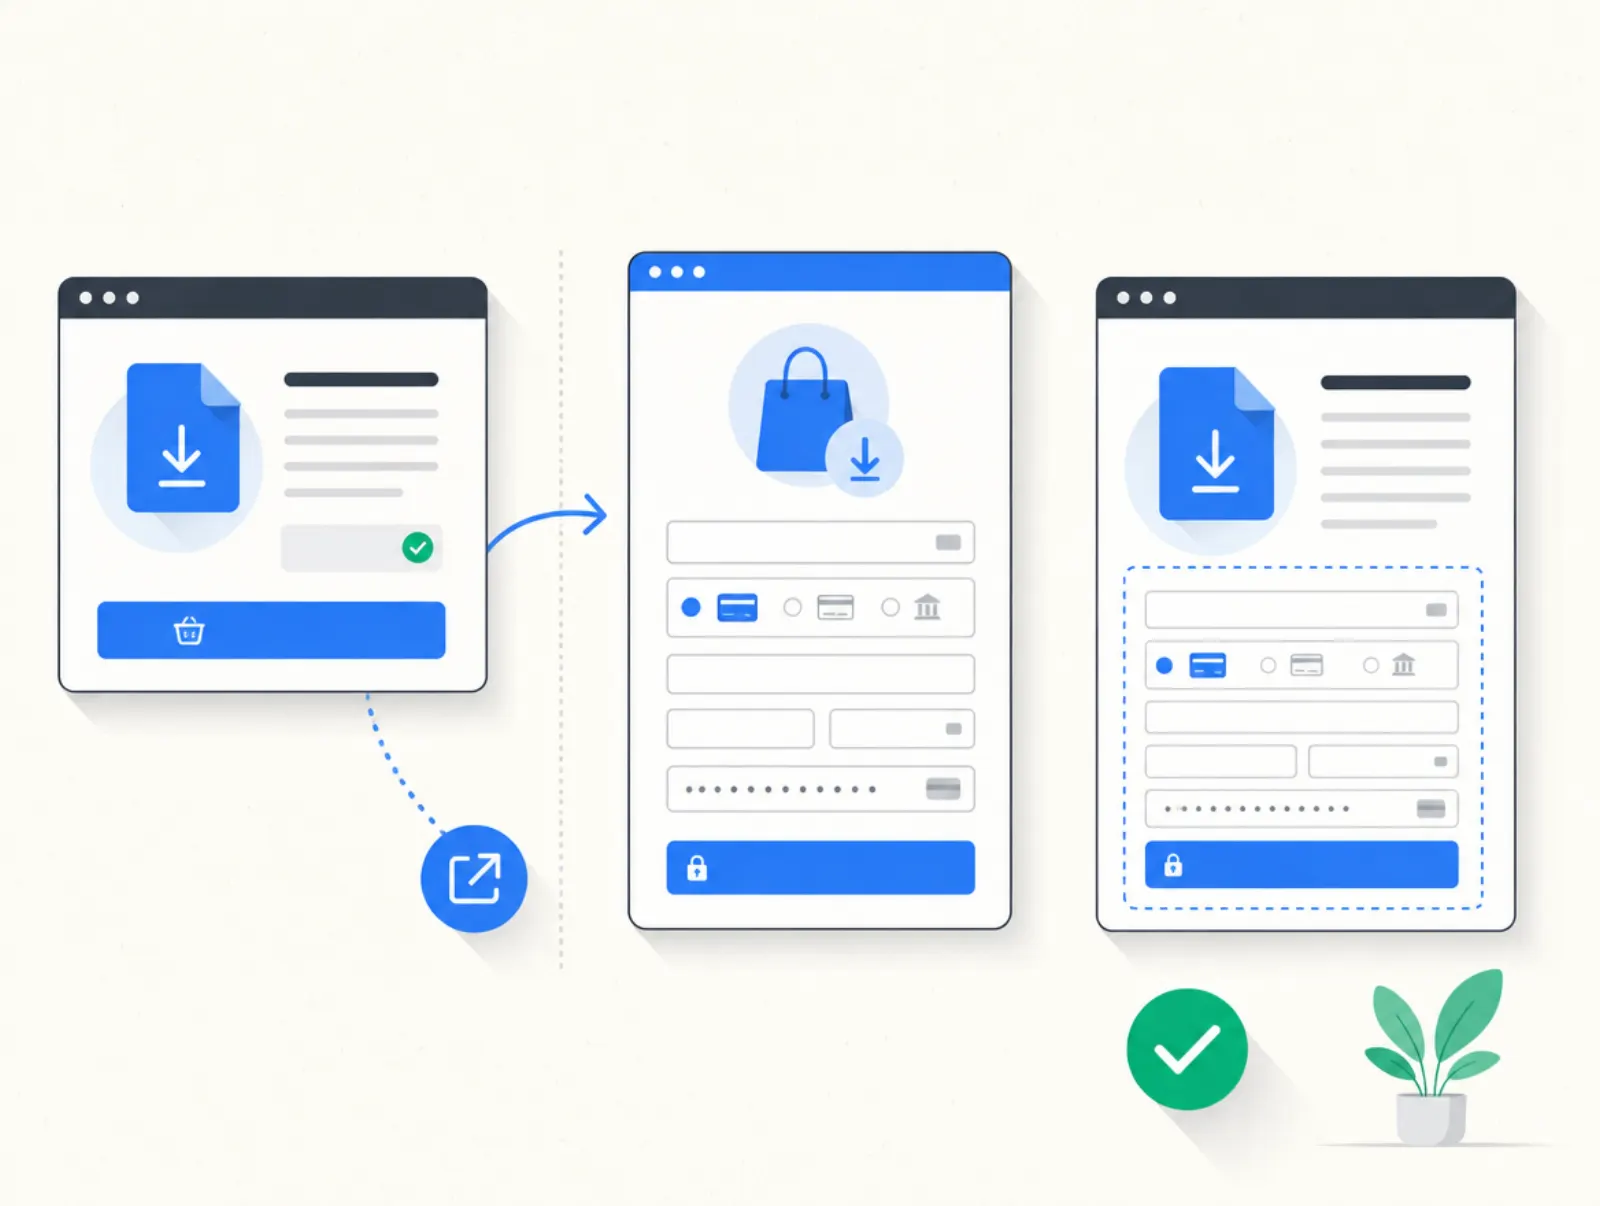
How the checkout flow works
Start with the shortest path that still answers the buyer's questions. A download and a coaching engagement need different information, but both need an unambiguous total and a reliable confirmation.
- Match the offer. Repeat the product name and billing terms from the sales page or email. A different name or unexplained amount makes the buyer stop and compare.
- Collect necessary information. Ask for the delivery email and any billing details required for the transaction. Collect onboarding preferences after payment when they are not needed to accept the order.
- Review the total. Show the base product, selected extras, discounts, applicable tax, and amount due. A recurring offer also needs its billing interval and renewal terms.
- Authorize payment. Let the customer choose an available method and complete any authentication. Explain declines beside the relevant control and allow a retry without unnecessarily clearing the form.
- Confirm and deliver. Display the order result, send the receipt, and provide the promised download, access email, or booking instructions. A payment still awaiting confirmation should say so.
On mobile, follow that sequence visually. A desktop order summary that disappears below a long form is easy to miss. Test the summary, keyboard behavior, validation messages, and payment button on an actual phone.
Examples of checkout pages for digital offers
These are hypothetical page specifications, not customer case studies or measured conversion winners. Prices are illustrative USD amounts created for this guide on 8 October 2026; totals assume no additional tax or discount.
| Example | Main offer | Optional extra | Amount due | Copy the buyer needs |
|---|---|---|---|---|
| Mini-course | $49 once | $19 workbook order bump | $49, or $68 with the bump | Course access by email; workbook included only if selected |
| Coaching session | $150 once | None | $150 | Session length, booking instructions, and rescheduling terms |
| Membership | $99 each quarter | None | $99 now and each quarter until canceled | Renewal interval, included access, and cancellation method |
| Template pack | $29 once | $79 implementation session offered after payment | $29 initially; $79 only if separately accepted | Download link first; optional session has its own charge |
The amounts above are examples, not vendor prices. The combined mini-course amount is simple arithmetic: base offer plus selected workbook.
For the mini-course, place the workbook choice beside the order summary. Describe what it adds and update the total when selected. Keep it optional: an order bump should complement a complete purchase, not reveal that an essential component costs extra.
For coaching, explain when the appointment is chosen. If availability matters to the purchase, let buyers inspect it before paying. Do not ask them to complete a long intake questionnaire just to discover the session is unavailable.
For membership, make the recurring commitment as visible as today's charge. For the template pack, let buyers reach their purchase even when they decline the implementation session. The original order should never feel held hostage by the next offer.
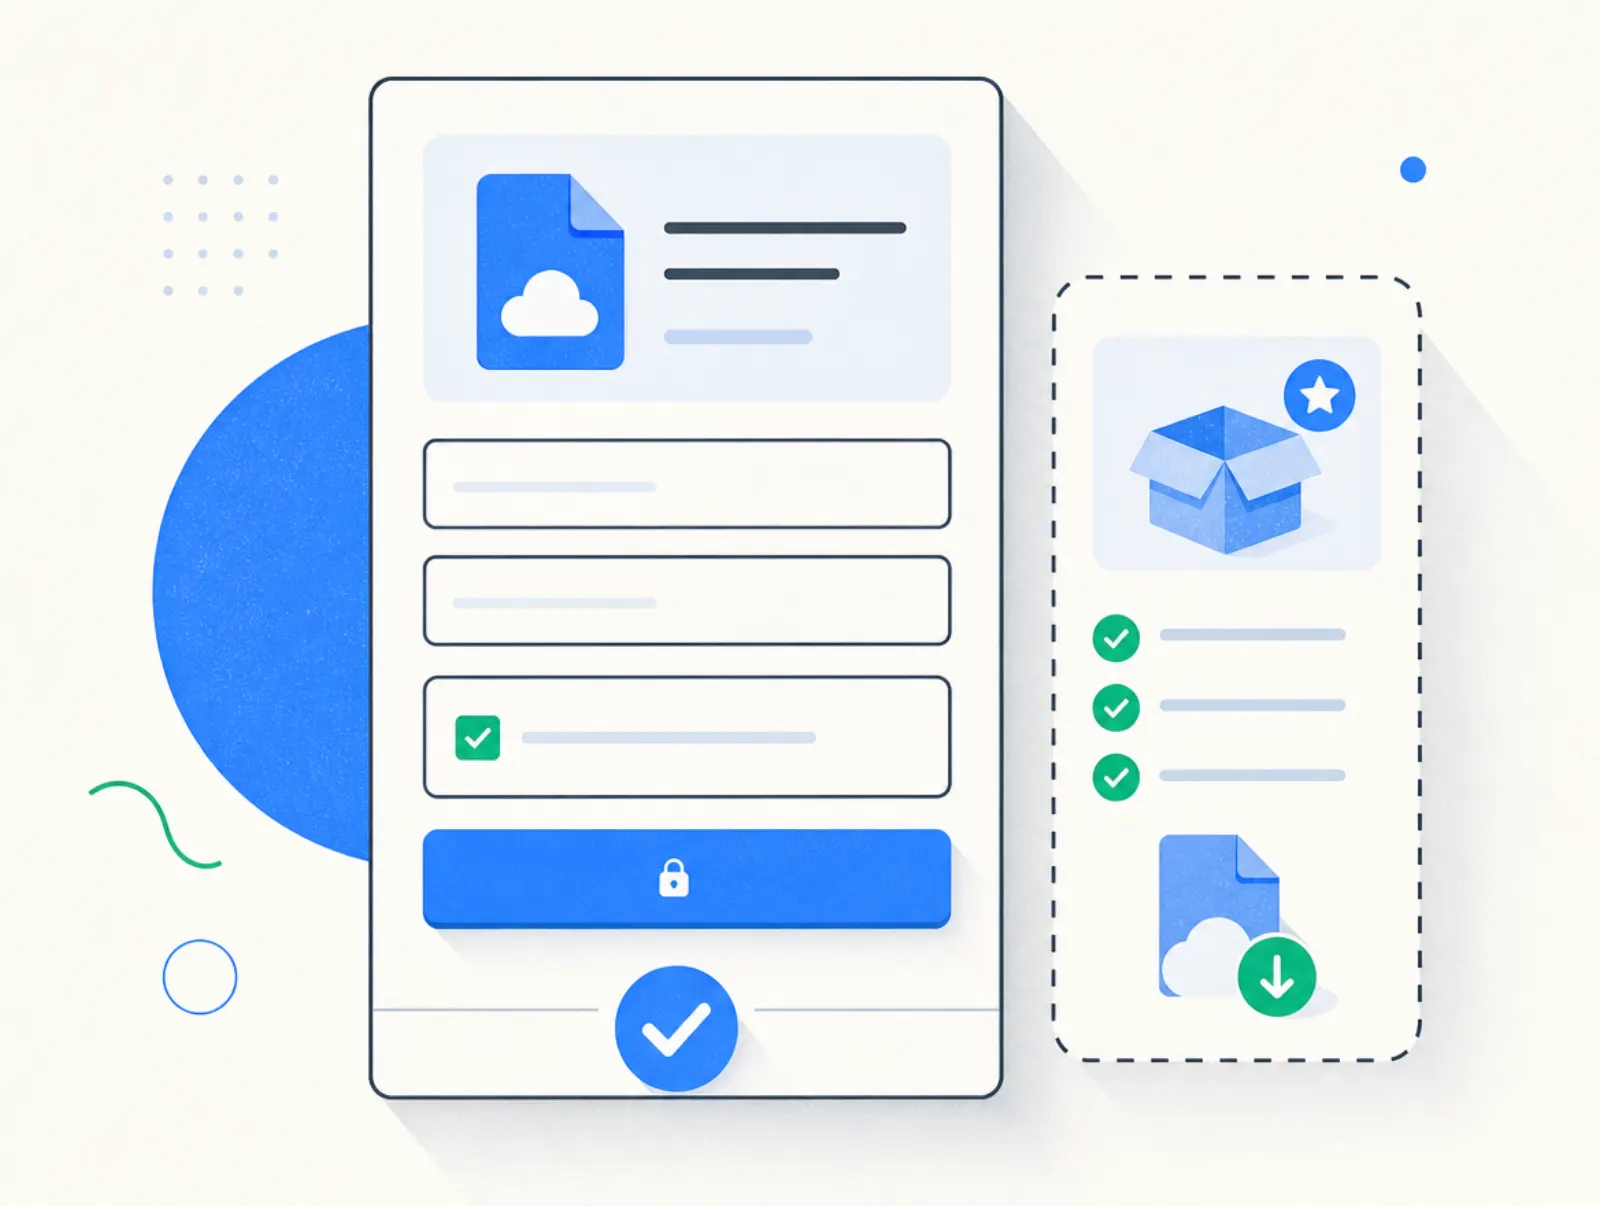
What belongs on a payment checkout page?
A payment checkout page needs an identifiable seller, a concise offer summary, required customer fields, available payment methods, the complete amount due, and a clear payment button. Add delivery timing and recurring terms where relevant. Trust comes from making the transaction understandable, not from surrounding the form with decorative badges.
| Page element | Useful content | Avoid |
|---|---|---|
| Offer summary | Product, format, access duration, what is included | A headline that differs from the offer clicked |
| Customer fields | Email and necessary billing or tax details | Required phone, company, or shipping fields without a reason |
| Payment area | Available methods and actionable errors | Logos for methods that cannot actually be selected |
| Order total | Itemized extras, tax, and recurring commitment | A surprise amount appearing only after submission |
| Trust and support | Seller identity, contact route, relevant refund terms | Invented security seals or unsupported guarantees |
| Confirmation | Order status and exact access instructions | A generic thank-you message with no delivery route |
Use visible field labels, not placeholder text alone. Mark optional fields, support keyboard navigation, and keep error messages beside the field that needs attention. If billing data is required for tax or fraud checks, explain why it is needed instead of removing the field.
Place a short, relevant testimonial near an unresolved buying concern. A review about customer support does not establish that the product produces a financial result. Likewise, payment security does not establish product quality; these are different questions.
How to measure the checkout funnel
Define the entry point before comparing results. Checkout completion means paid orders divided by checkout starts using a consistent definition and time window. Sales-page conversion uses a different denominator. Mixing those measures can make an unchanged checkout appear to improve.
Track checkout starts, payment attempts, successful initial orders, bump selections, accepted upsells, and delivery failures separately. Count the initial order once even if a buyer adds an upsell. Payment confirmation should determine purchase success, rather than a reloadable thank-you page alone.
Compare results by device, traffic source, and offer. Change one meaningful element at a time, such as an unnecessary field or unclear renewal copy. Evaluate revenue alongside refunds and support requests: a larger order is not an improvement if buyers misunderstood what they accepted.
There is no universal conversion target in these examples. High-converting checkout pages earn that description through measured results for a particular audience and offer, not through a template's appearance.
How to set it up
In any tool, define the offer and delivery first. Configure the amount, currency, payment schedule, tax settings, and cancellation terms before styling the form. Connect the payment provider, build the confirmation route, and then test successful, failed, and pending payments.
Only add a bump or upsell after the base purchase works. Check that each optional purchase changes the receipt and delivery correctly. Test the decline path too: customers who reject an extra must still receive the original purchase.
In Plug&Pay
Plug&Pay provides hosted checkout pages. Use Lite for basic checkouts and order bumps; Premium adds subscriptions, installments, one-click upsells, custom fields, and A/B testing. Ultimate adds the customer portal and affiliate system. Plan entitlements and prices were confirmed on 10 October 2026.
- Connect payments. Open Settings > Payment provider. For Stripe, connect both test and live accounts as described in the Stripe connection guide.
- Create the checkout. Create the product first, then choose Pages > Checkouts > Create checkout. Select the product, page name, template, and theme, then click Next. See creating a checkout.
- Edit the essentials. Use General and Content to complete the page. The Content tab contains fields, payment methods, button copy, and testimonials. Check every required field against the transaction's needs.
- Add a relevant bump. Open Pages > Checkouts > your checkout > Content > Order bump > Add. Select the existing product, edit its description, and save. Follow the order bump instructions.
- Configure an optional upsell. On Premium or Ultimate, use Pages > Upsells > Create upsell, or the plus icon in the checkout's Upsells tab. The upsell guide requires an upsell product, its checkout, and credit card or SEPA Direct Debit enabled.
- Connect delivery and test. Configure the relevant integration or webhook under Rules. Verify access, receipt, declined payments, and the complete mobile journey before sharing the public URL.
Menu paths checked in the linked help articles on 8 October 2026. Plug&Pay's Stripe integration lists credit card, iDEAL, SEPA direct debit, and Bancontact. Do not assume other methods available in standalone Stripe Checkout are available through this integration.
Mistakes to avoid
- Making customers research the total. Keep the final amount and recurring commitment close to the payment action, including after a bump is selected.
- Collecting onboarding data too early. Separate information needed to process the purchase from information you can request afterward.
- Preselecting paid extras. Give buyers a clear choice and show the resulting amount before they authorize payment.
- Treating every failed payment as abandonment. Technical failures, authentication problems, and deliberate exits need different fixes.
- Hiding the decline route. Make declining an upsell straightforward and preserve access to the completed order.
- Stopping the test at payment. Verify the receipt, delivery email, login or download, and support route as part of checkout quality.
- Adding urgency without a real deadline. Only show timers or availability claims that accurately describe the offer.
Tools that do this
Choose according to the work the checkout must perform. A payment request, an offer funnel, and a course platform overlap, but they do not replace each other. Our checkout software comparison covers the broader selection.
| Tool | Entry price or billing basis | Payment fees | Checkout depth and limits |
|---|---|---|---|
| Plug&Pay | €15/month billed annually (€25 monthly) | No platform fee; Mollie or Stripe processing fees | Hosted offer pages and Lite order bumps; Premium needed for one-click upsells; no built-in course hosting or US sales-tax calculation |
| Stripe Payment Links | No monthly charge on standard Payments pricing | US domestic cards: 2.9% + $0.30; other transactions and optional services can cost more | Hosted links with optional items; limited layout customization; arrange product delivery separately |
| Mollie Payment Links | Included with standard processing; no monthly subscription for this configuration | Fetched euro rate for EEA consumer Visa/Mastercard: 1.80% + €0.25; country and card type matter | Shareable payment requests; dashboard links normally stop working after payment; verify reuse before a campaign |
| Kajabi Basic | $179/month, or advertised $143/month billed annually | US Kajabi Payments card rate: 2.9% + $0.30; Basic adds 2% when using Stripe where Kajabi Payments is offered | Course delivery and checkout together; order bumps available; higher subscription cost if you only need checkout |
Prices taken from plugandpay.com/pricing, stripe.com/pricing, mollie.com/pricing, and kajabi.com/pricing on 10 October 2026. Rates describe different markets, not interchangeable processor quotes.
Kajabi's additional Stripe fee is separate from Stripe's own processing costs. See our Kajabi pricing breakdown for the wider platform cost. Its order bump documentation, checked 8 October 2026, distinguishes one-time offers from recurring offers.
Stripe documents its Payment Links features, including optional items and fulfillment connections. Mollie's payment link guide explains link expiry and reusable-link options. Both were checked on 8 October 2026.
Plug&Pay plans and pricing
Prices exclude VAT.
| Plan | Monthly | Billed annually, per month | Annual total |
|---|---|---|---|
| Lite | €25 | €15 | €180 |
| Premium | €69 | €59 | €708 |
| Ultimate | €149 | €119 | €1,428 |
Prices taken from plugandpay.com/pricing on 10 October 2026. Plug&Pay adds no transaction fee of its own; you pay the subscription and your payment provider's processing fees (Mollie or Stripe).
Trials, cancellation, and support
Plug&Pay advertises a 14-day trial, with cancellation inside that period before the initial debit. Its pricing FAQ says monthly plans can terminate monthly and annual plans annually, with automatic renewal. Those are seller-account terms, not a promise that your customers can start card-based free trials.
Kajabi's trial guide describes a standard 14-day trial and billing when a card-backed trial ends. Its cancellation guide says site access ends at the billing or trial period's end; active customer subscriptions require separate cancellation. Both checked 8 October 2026.
Stripe and Mollie's compared configurations use transaction pricing rather than a timed software subscription trial. You can test through Stripe's testing environment or Mollie's payment-link test mode. Their Stripe account closure and Mollie account closure instructions cover remaining balances and account responsibilities. Sources checked 8 October 2026.
Two Trustpilot experiences illustrate why support belongs in your trial checklist:
- "very easy to use and very efficient." Evd, Trustpilot, 9 January 2026, Plug&Pay review.
- "Customer support is non existent." Hamit Oker, Trustpilot, 21 May 2026, Plug&Pay review.
Reviews fetched 8 October 2026. Evd praised usability and support; Hamit reported an interrupted trial. Plug&Pay replied that automated security checks can pause accounts. These are individual experiences, not conversion evidence or a representative support score.
Related reading
- Ecommerce checkout solutions: digital product tools (2026)
- ThriveCart pricing (2026): lifetime deal vs monthly plans
- SamCart alternatives (2026): 7 tools compared
- ClickFunnels vs SamCart: plans, fees and fit in 2026
FAQ
What occurs during the checkout process?
The buyer reviews the offer, supplies required details, chooses a payment method, and authorizes payment. The seller confirms the result and provides delivery or access instructions. Some methods return a pending status before final confirmation.
What is the difference between a checkout page and a checkout link?
A checkout page is the interface where the buyer completes the purchase; a checkout link is its address. You can share that address in an email, social post, or website button. In Plug&Pay, copy it from General, under Edit checkout, as documented in its checkout URL guide, checked 8 October 2026. Test it from a browser where you are not logged into the seller account.
What is a hosted checkout page?
A hosted checkout page runs on the checkout provider's infrastructure, and your site links customers to it. It may use a provider URL or a supported custom domain. Plug&Pay uses hosted pages; connecting a payment provider does not make its checkout embeddable.
Are one-page checkout flows always better?
No. A short purchase may fit comfortably on one page, while a more complex order may benefit from clearly labeled stages. Compare completion, errors, and customer understanding for your own traffic.
What do high converting checkout pages have in common?
They make the offer and payment commitment clear, request relevant information, and provide a usable route from payment to delivery. Optional extras remain optional. Confirm performance with your own checkout funnel data instead of assuming a design guarantees results.
What is the difference between an order bump and an upsell?
An order bump is an optional add-on selected before the initial payment. In the post-purchase flow described here, an upsell is a separate offer shown after that payment. Its acceptance and charge should be explicit, and declining it should not affect the original purchase.